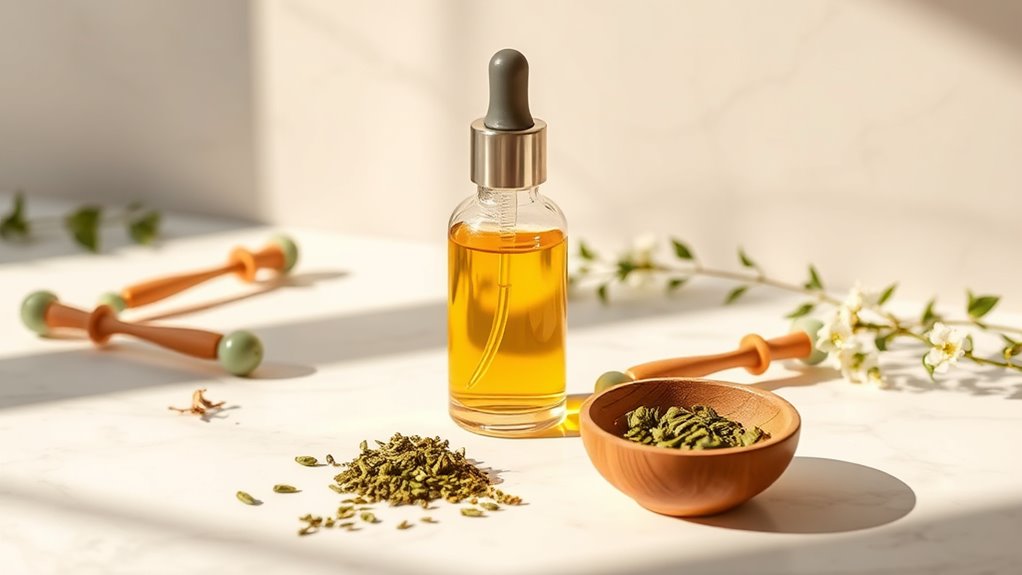
This Oil Changed My Skincare Game-Here’s How I Make It at Home
The Benefits of DIY Facial Oils
When it comes to skincare, DIY facial oils offer numerous benefits that can transform your routine. You gain control over ingredients, allowing you to customize oils to suit your skin type and concerns.
A DIY facial oil can enhance hydration, improve texture, and promote a radiant glow, all while avoiding harsh chemicals. Additionally, incorporating herbal-infused oil into your routine can provide nourishing properties that further enhance skin health.
Plus, it’s cost-effective and a creative outlet, making skincare enjoyable and personalized.
Essential Ingredients for Your Custom Blend
When creating your custom skincare oil, choosing the right key oils is crucial. Consider your skin type to ensure the blend meets your specific needs—whether oily, dry, or sensitive. Additionally, incorporating DIY rose oil can enhance your blend with its nourishing properties and aromatic benefits.
Key Oils Selection
Choosing the right oils for your DIY skincare blend is essential to achieving the desired effects on your skin. Here’s a quick reference to help you select optimal oils based on their benefits:
| Oil Type | Benefits |
|---|---|
| Jojoba Oil | Balances oil production |
| Argan Oil | Moisturizes and nourishes |
| Rosehip Oil | Reduces scars and fine lines |
| Tea Tree Oil | Fights acne-causing bacteria |
Skin Type Considerations
Understanding your skin type is crucial for formulating an effective DIY skincare oil.
If you have oily skin, consider lightweight oils like jojoba or grapeseed. For dry skin, opt for richer oils such as avocado or sweet almond.
Combination skin benefits from a balance of both types. Tailoring your blend to your unique skin needs maximizes hydration and enhances overall skin health.
Step-by-Step Guide to Making Your Facial Oil
Creating your own facial oil can be a rewarding experience, especially since it allows you to tailor the blend to your skin’s unique needs. Here’s a simple guide:
-
Choose Your Base Oil: Select a carrier oil like jojoba or almond oil.
-
Add Essential Oils: Incorporate a few drops of your favorite essential oils.
-
Mix and Store: Blend well and store in a dark glass bottle. Adding natural ingredients also aligns with a plastic-free beauty routine, enhancing both your skincare and environmental impact.
How to Properly Apply Your Homemade Oil
Before applying your homemade skincare oil, make sure to cleanse your skin thoroughly to remove any impurities.
Once your face is clean, use gentle massage techniques to help the oil absorb better and enhance blood circulation. This will also allow the oil to penetrate deeper into the skin, promoting effective homemade face masks and overall skin health.
This approach ensures that you get the most benefits from your DIY oil.
Cleanse Skin First
To achieve the best results when applying your homemade skincare oil, you should always start with a thorough cleansing of your skin.
Follow these steps:
-
Remove Makeup: Use a gentle makeup remover to eliminate any residue.
-
Wash Face: Apply a mild cleanser with warm water to refresh your skin.
-
Pat Dry: Gently pat your face with a clean towel, leaving it slightly damp for better oil absorption.
Use Gentle Massage Techniques
Applying your homemade skincare oil with gentle massage techniques can significantly enhance its benefits.
Begin at your chin, using upward strokes, and move toward your forehead. Incorporate circular motions on your cheeks to promote circulation.
Spend a few minutes on your neck, too. This method not only helps the oil absorb better but also relaxes your facial muscles, resulting in glowing, revitalized skin.
Tailoring the Oil to Different Skin Types
When you tailor your DIY skincare oil to different skin types, you’ll ensure that your formula addresses specific concerns and provides optimal benefits.
-
Oily Skin: Use lightweight oils like jojoba or grapeseed.
-
Dry Skin: Opt for richer oils such as avocado or olive.
-
Sensitive Skin: Choose calming oils like chamomile or lavender. Additionally, incorporating a natural exfoliator can enhance the transformative effects of your skincare routine, making your tailored oils even more effective for your skin type.
Tips for Storing and Shelf Life of Your Facial Oil
Proper storage is crucial for maintaining the potency and effectiveness of your DIY facial oil. Use dark glass bottles to protect from light, and always keep your oil in a cool, dry place. Check for the shelf life of ingredients to avoid spoilage. Incorporating traditional beauty wisdom can also guide you in selecting the best oils that enhance your skincare routine.
| Storage Tip | Description |
|---|---|
| Use Dark Glass | Protects oil from light exposure |
| Cool Environment | Prevents degradation |
| Keep Tightly Sealed | Reduces oxidation |
| Check Expiration | Ensures oil is still effective |

